This is a simple, straightforward body butter recipe, great for beginners, using a 70% butter to 30% oil formula, so feel free to substitute ingredients if you don’t have those listed. Plus as it’s an anhydrous product (it doesn’t contain water) it’s also 100% natural and preservative free!
This fabulously hydrating body butter contains:
- Shea, coconut and cocoa butters, which are emollient and soothing to help nourish that dry winter skin. Shea butter contains vitamins A and E and provides natural sun protection. Coconut oil is antibacterial and, along with cocoa butter, contains antioxidants which mean it helps fight free radicals in the skin.
- Jojoba oil to help balance sebum in the skin, meaning it can help replenish lost oils. It is an antioxidant and is rich in vitamins and minerals. It combats inflammation, wound healing and nappy rash.
- Peach kernel oil is a fantastic moisturizer for dry, dehydrated skin as it relieves itching. It is good for eczema and psoriasis.
- Evening primrose oil is a good anti-aging oil and helps calm redness and inflammation. It is great for skin conditions caused by hormonal imbalances such as acne and also helps improve the condition of wrinkles.
- Essential oils of neroli, lavender and frankincense, all wonderful skin-regenerating and rejuvenating oils. Neroli (from beautiful orange blossom) is good for mature skin as it encourages skin regeneration and helps reduce scarring. Lavender is great for all skin types and is healing, balancing and antiseptic. Frankincense helps reduce scars and stretch marks and is a good anti-aging oil.
Ingredients (makes 100g)
50g shea butter
20g jojoba oil
10g unrefined coconut oil
10g cocoa butter
5g peach kernel oil
5g evening primrose oil
1g essential oil (this equals 20 drops)
6 drops neroli
8 drops lavender
6 drops frankincense
Method
- Carefully measure out all of the ingredients except the essential oils into a heatproof beaker or double boiler insert.
Place the beaker in a pan of boiling water until the butters have melted.
- Swirl the pot to combine the ingredients.
- Leave the body butter to cool – you can either leave it at room temperature, which could take several hours or if you are feeling impatient, it can go in the fridge! When it is just starting to firm up, add the essential oils and stir to mix in thoroughly. If you are cooling in the fridge you will need to keep an eye on it because if it cools completely and goes quite hard, it will be difficult to incorporate the essential oils. Think about how easy it is to use room temperature butter when making a cake, compared to using fridge hard butter!
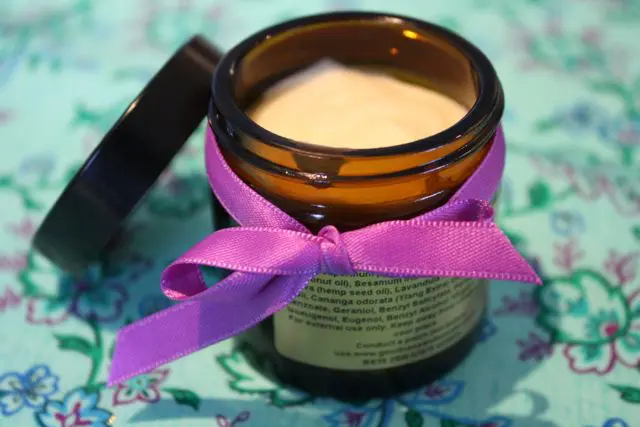
- Pour the body butter into a suitable container (a pot is recommended for this recipe) and leave until fully cooled and hardened. As there is a higher percentage of oils, this butter will still be nice and soft even when cold.
If you wish to whip this body butter, do so once it has started to solidify, as it will not whip effectively if the mixture is still liquid. Whipping is done to create a lighter butter by incorporating air into it, and the best implements to do this with are either a hand mixer, the kind used to make cakes, or a battery powered milk frother. I have used both, and find the milk frother better for small amounts of cream, say 50g – 100g, and the hand mixer good for larger amounts. However, both will do the job well; use whatever you have! A simple balloon whisk is also fine to use, although this may prove to be quite a lot of hard work!
- This butter needs to be stored in a cool dry place. If it is stored anywhere too hot it could melt! It should last between six and 12 months, possibly longer if you always use clean hands or a spatula to remove the butter from the pot, in order to reduce the number of germs that are introduced into it. However, it is likely this will be used up very quickly, as it is such a luxurious product!
Free Online Organic Skincare Formulation Course
Fundamentals of Skincare Formulation
Learn the essentials of skincare formulation with our FREE course!
If you’re confused by all the misleading information out there, we’re here to guide you. Learn how to create natural and organic products confidently, using industry best practices, under the guidance of professional cosmetic scientists.
Exclusive for our newsletter subscribers. Sign up now.
We look after your data in accordance with our privacy policy.
What you’ll learn:
- Formulation Foundations: The basics of cosmetic chemistry and skincare formulation.
- Bodycare: Make a shea-butter-rich body moisturizer with our pro formula.
- Facial Skincare: Rejuvenate your skin with our two facial oil formulas.
- Creams & Lotions: Create shelf-stable moisturizers using our tried-and-tested formula.
- Natural Ingredients: Understand the key natural and organic ingredients used in formulations.
Exclusive for our newsletter subscribers. Sign up now and start formulating your own natural products today!
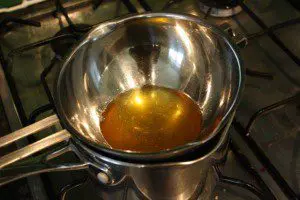 Place the beaker in a pan of boiling water until the butters have melted.
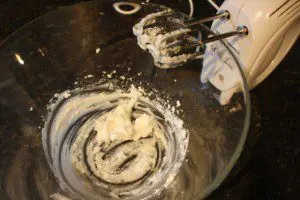 If you wish to whip this body butter, do so once it has started to solidify, as it will not whip effectively if the mixture is still liquid. Whipping is done to create a lighter butter by incorporating air into it, and the best implements to do this with are either a hand mixer, the kind used to make cakes, or a battery powered milk frother. I have used both, and find the milk frother better for small amounts of cream, say 50g – 100g, and the hand mixer good for larger amounts. However, both will do the job well; use whatever you have! A simple balloon whisk is also fine to use, although this may prove to be quite a lot of hard work!