Lotion bars are a really popular skincare product to make, especially for beginners, as they are simple to make and effective.
Lotion bars are one of more than 21 solid, zero waste beauty products you can make. They are so popular that we include them in both our Certificate in Making Natural Skincare Products and our Diploma in Zero Waste Skincare and Haircare Formulation.
Most lotion bar recipes contain beeswax (or another wax) to help create their solid form, but lotion bars don’t need to contain beeswax.
If you want to create a vegan product, prefer a product with a lighter skin feel, or don’t like the feeling of wax on your skin, then you may be wondering how to make lotion bars without beeswax
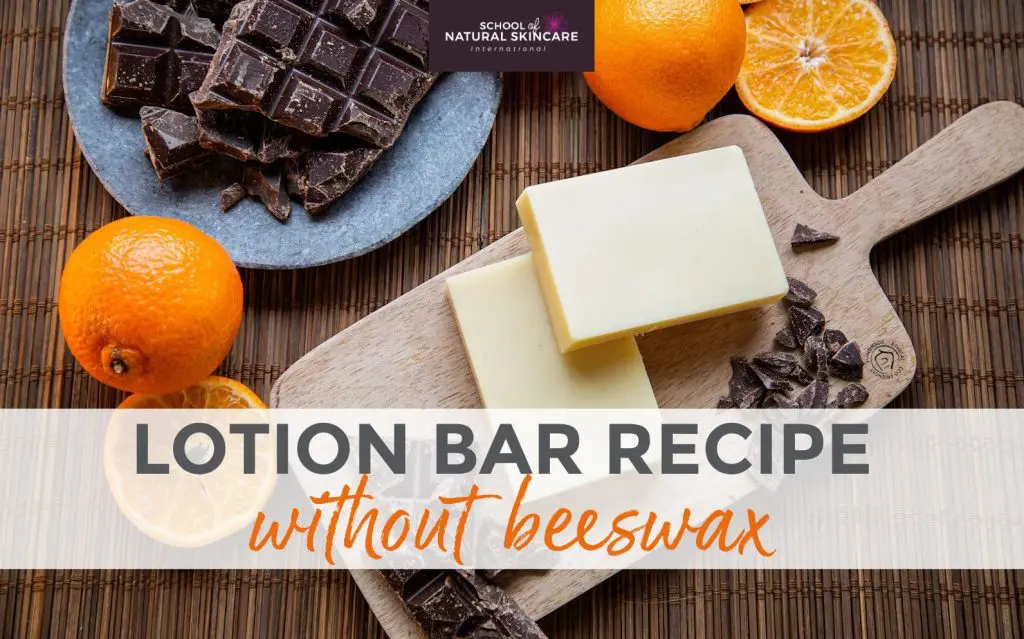
Keep reading for our Chocolate Orange Lotion Bar recipe without beeswax. The recipe uses just 4 easy-to-find ingredients and is super simple to make.
Here’s what we’ll be covering:
- What is a lotion bar?
- Ingredients in a lotion bar.
- Benefits of lotion bars.
- How to use a lotion bar.
- How to store lotion bars.
- Lotion bar molds.
- How to package lotion bars.
- How to make lotion bars without beeswax.
- Chocolate Orange Lotion Bar recipe without beeswax.
- How to make lotion bars step by step.
- Varying the lotion bar recipe without beeswax.
- How to make a lotion bar less oily.
- Adapting lotion bars for different climates.
- Face lotion bars.
- In-shower lotion bars.
Let’s dive in!
What is a lotion bar?
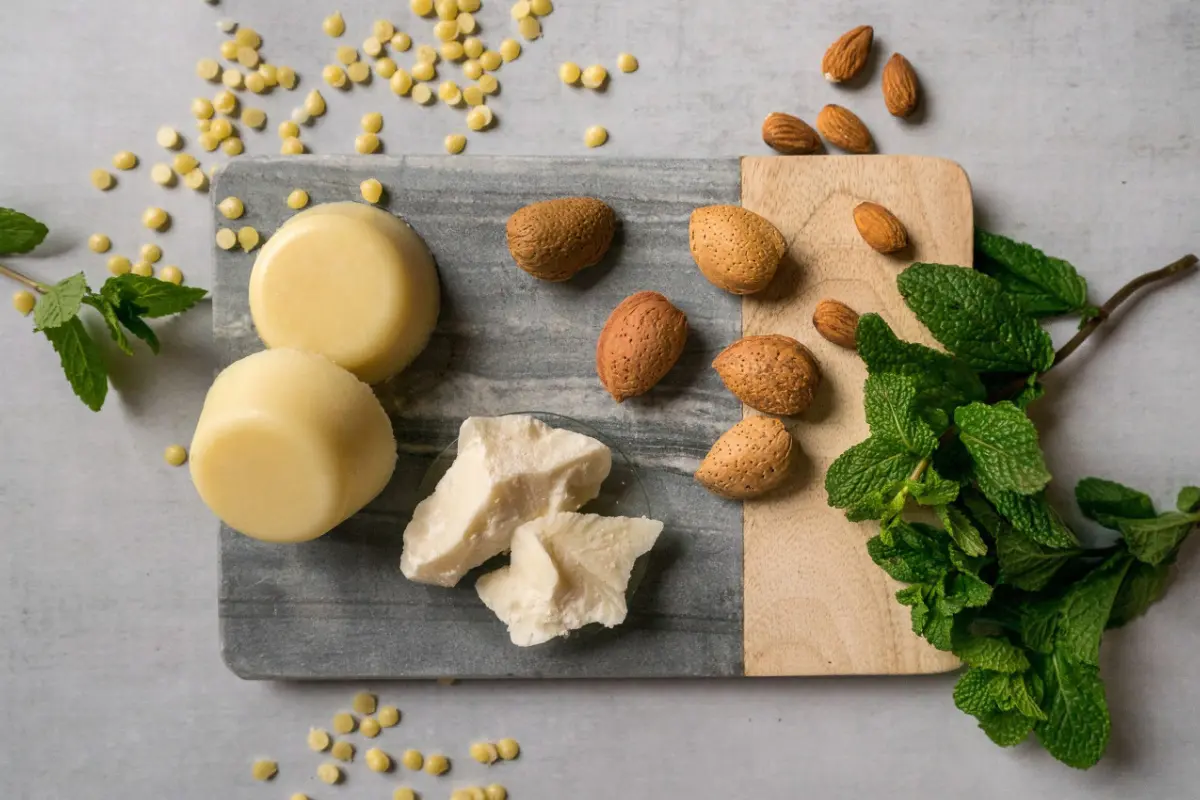
Lotion bars are solid moisturizing bars. They contain nourishing oils and butters like regular lotions do but unlike regular lotions they don’t contain any water.
Lotion bars work wonderfully as moisturizers, providing the skin with nourishing emollients that smooth and soften the skin, helping to keep the skin moisturized by preventing transepidermal water loss.
However, as they are anhydrous and don’t contain water or humectants, they don’t hydrate the skin in the same way that regular lotions do.
Depending on the ingredients chosen they can be formulated as body lotion bars, facial serum bars, massage bars or in-shower lotion bars.
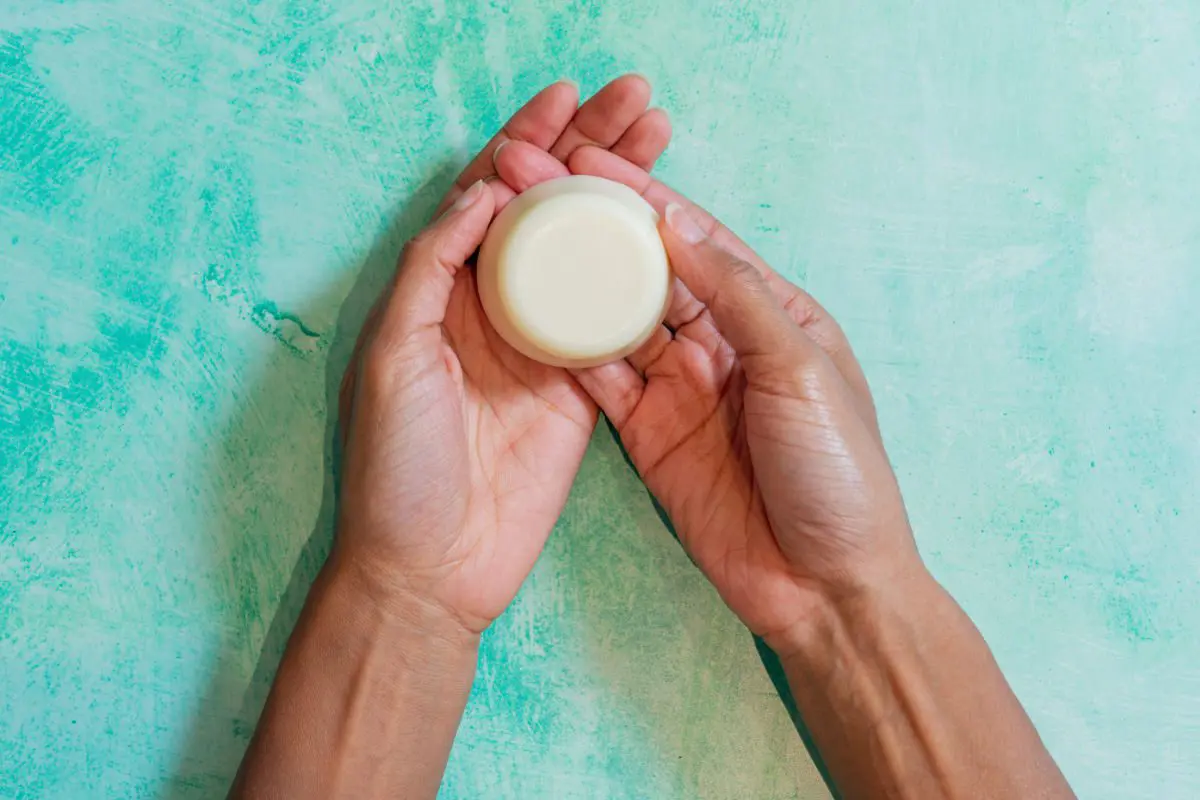
Ingredients in a lotion bar
Lotion bars contain:
- Butters.
- Carrier oils.
- Waxes (optional).
- Essential oils (optional).
- Vitamin E (optional).
As the bars need to set and stay firm at room temperature they will either contain a wax such as beeswax or a high quantity of a hard butter such as cocoa butter.
Essential oils are a nice addition to a lotion bar and Vitamin E will help extend the shelf life.
 Benefits of lotion bars
We love making lotion bars! They are:
- Really easy to make. Simply melt and mix all of the ingredients and pour them into a mold to set.
- Use just a few ingredients – butters, oils and sometimes waxes.
- Zero waste. Their solid format means that they don’t need to be packaged in a bottle or jar like a regular lotion or cream.
- Long lasting. As they are very concentrated products you only need to apply a little, meaning they last for a long time.
- No preservatives required. As they are anhydrous (waterless) they don’t need preservatives.
How to use a lotion bar
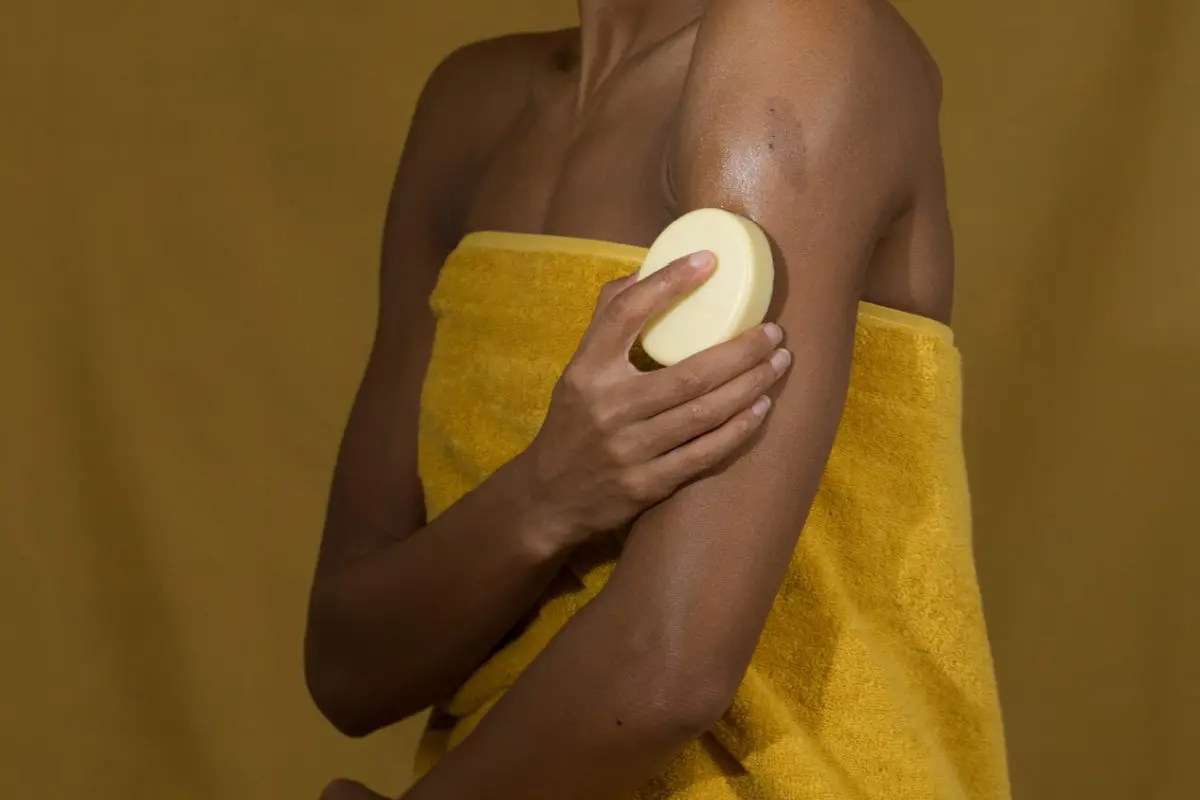
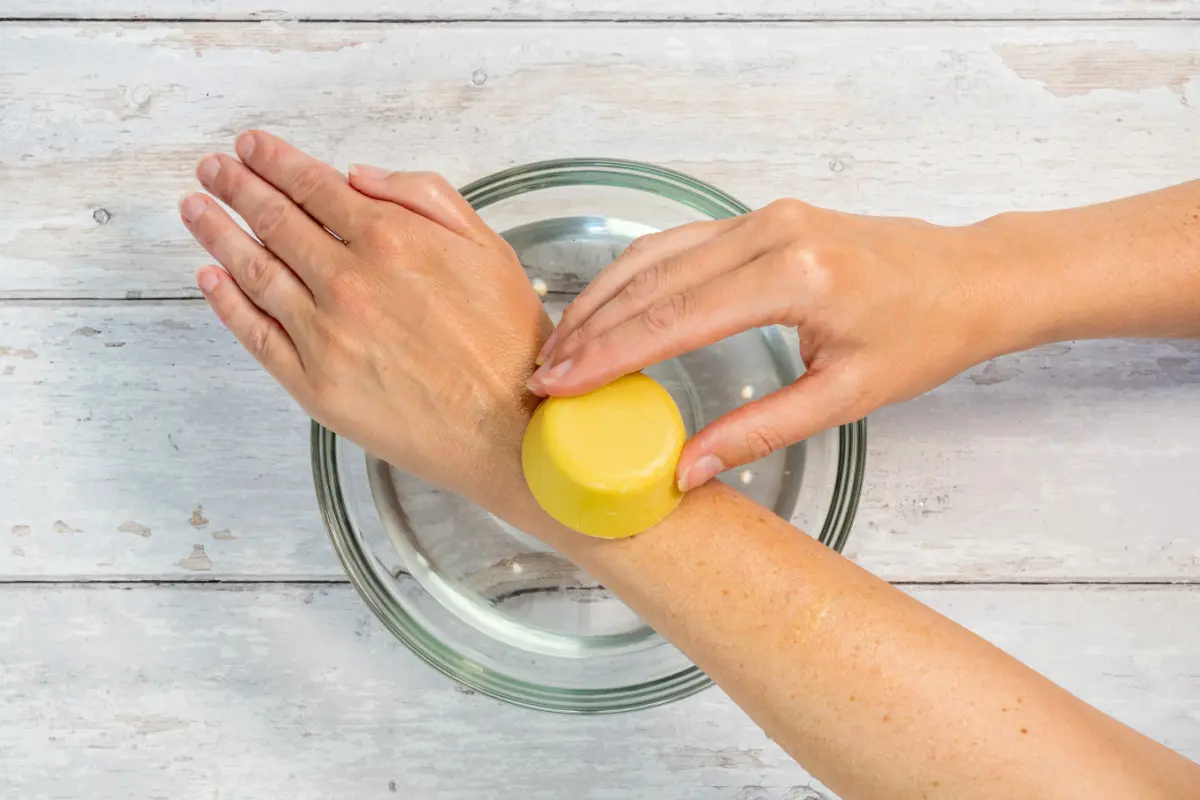
If you’re new to lotion bars you might be wondering how to use them. Lotion bars are really easy to use, you simply rub the bar onto your skin and the warmth of the skin will melt a little of the product. Rub in the melted product for soft and smooth skin. Apply to legs, arms and torso as required.
How to store lotion bars
As lotion bars melt when they get warm, the most important factor when choosing how to store lotion bars is to keep them somewhere cool. This usually means away from sunlight and other warm places. Storing them somewhere cool and dark is ideal. If you live in a very hot climate you may like to store your lotion bar in the fridge.
Lotion bar molds
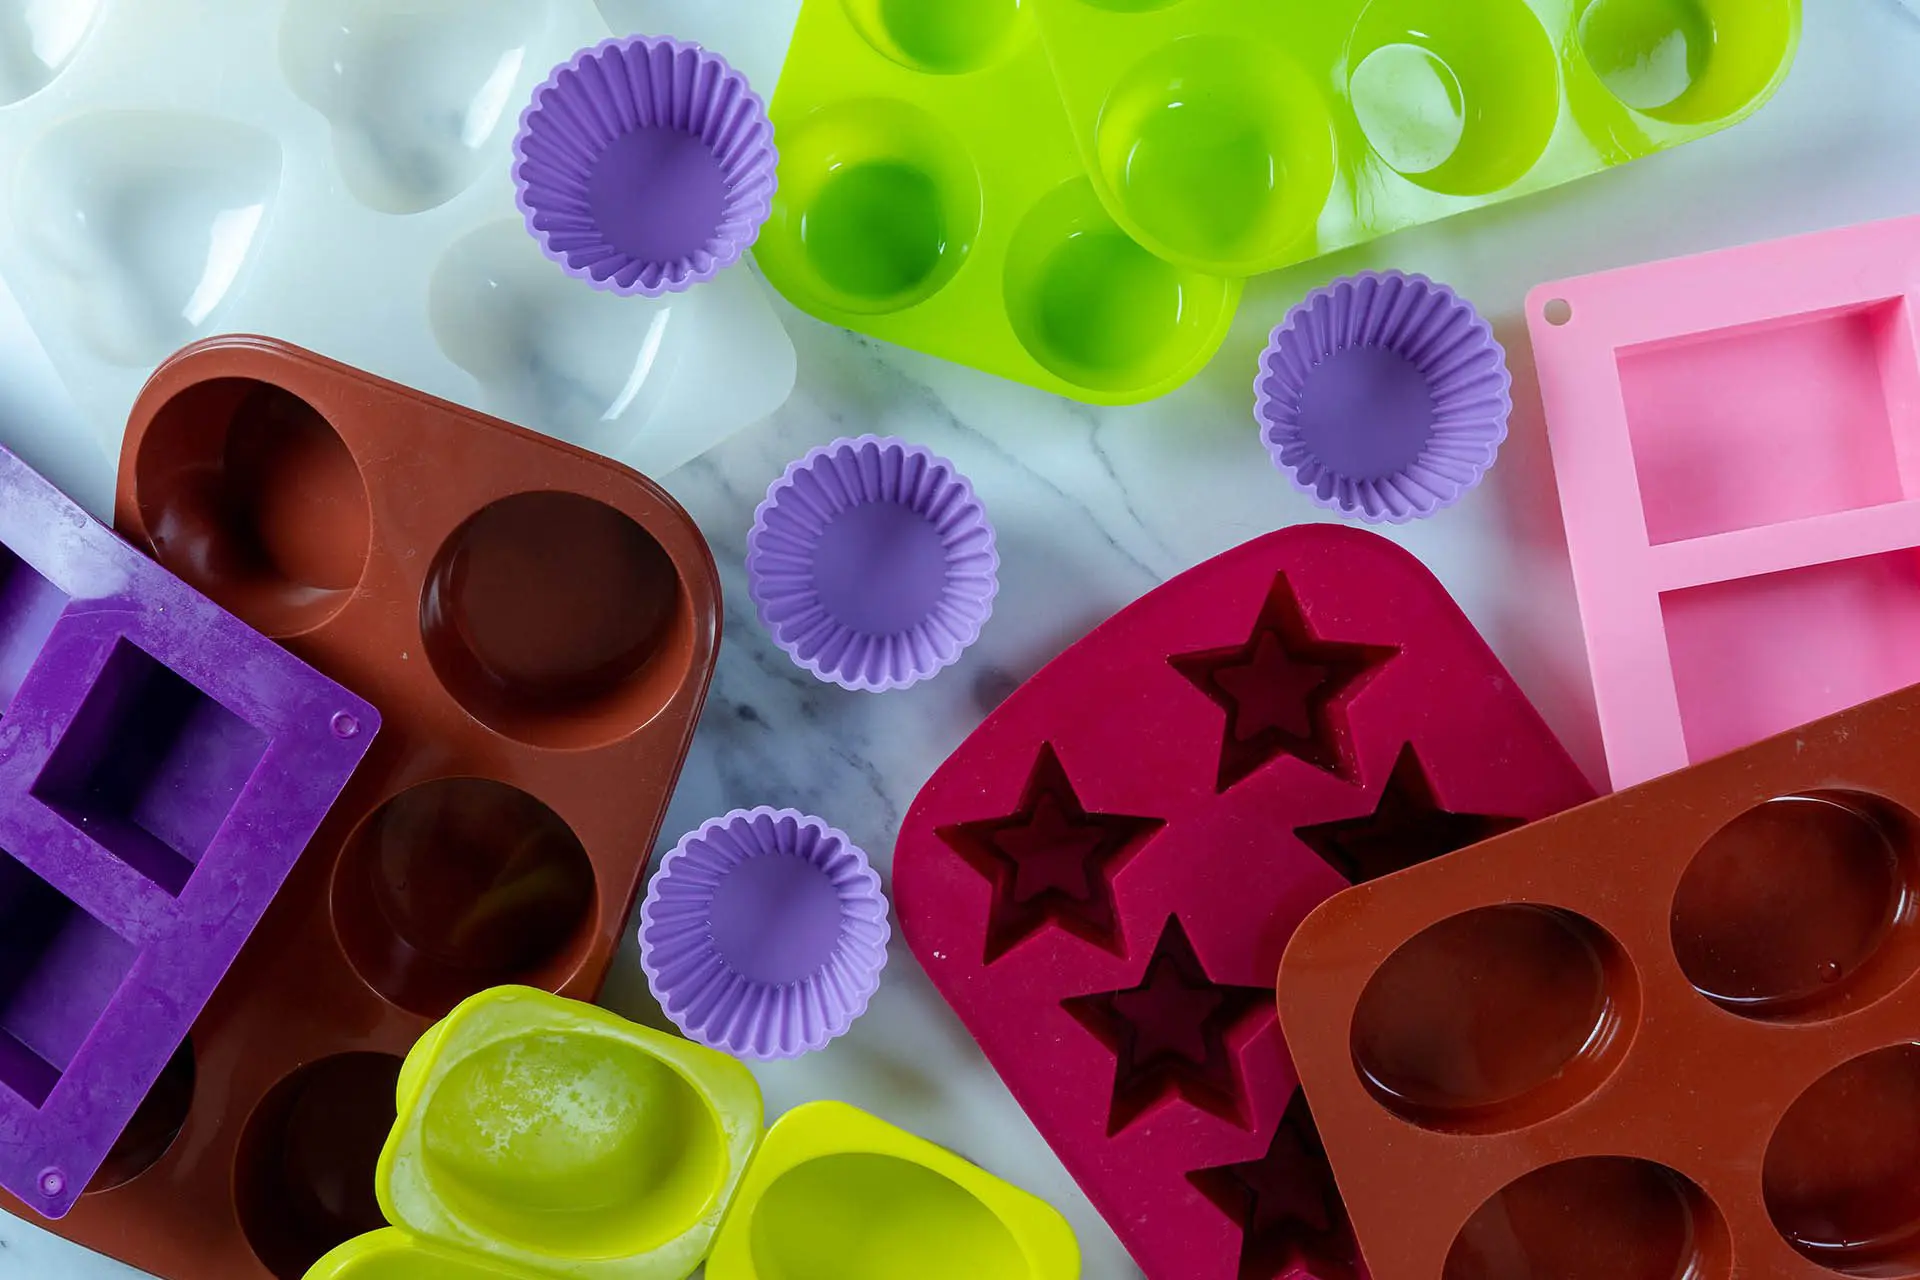
To create the solid shape of a lotion bar, a mold is required. Silicone molds work really well and there are lots of shapes and sizes to choose from.
Silicone molds are flexible, making it easy to remove the finished bar once it’s set.
How to package lotion bars
Lotion bars themselves are solid bars and therefore don’t require typical lotion packaging such as bottles, jars or tubes.
To keep your lotion bar in good condition it’s a good idea to store it in a reusable container between uses. Any kind of container would work such as a tin, jar or box. Just remember that the bar contains oil, so something made of cardboard or paper may get oily.
How to make lotion bars without beeswax
Beeswax is an oil thickener and occlusive, and is often used in lotion bar recipes to help create the solid form of the lotion bar. It is really effective at this but it is also possible to make a lotion bar without beeswax if you wish to make a vegan product or don’t like the feeling of wax on your skin.
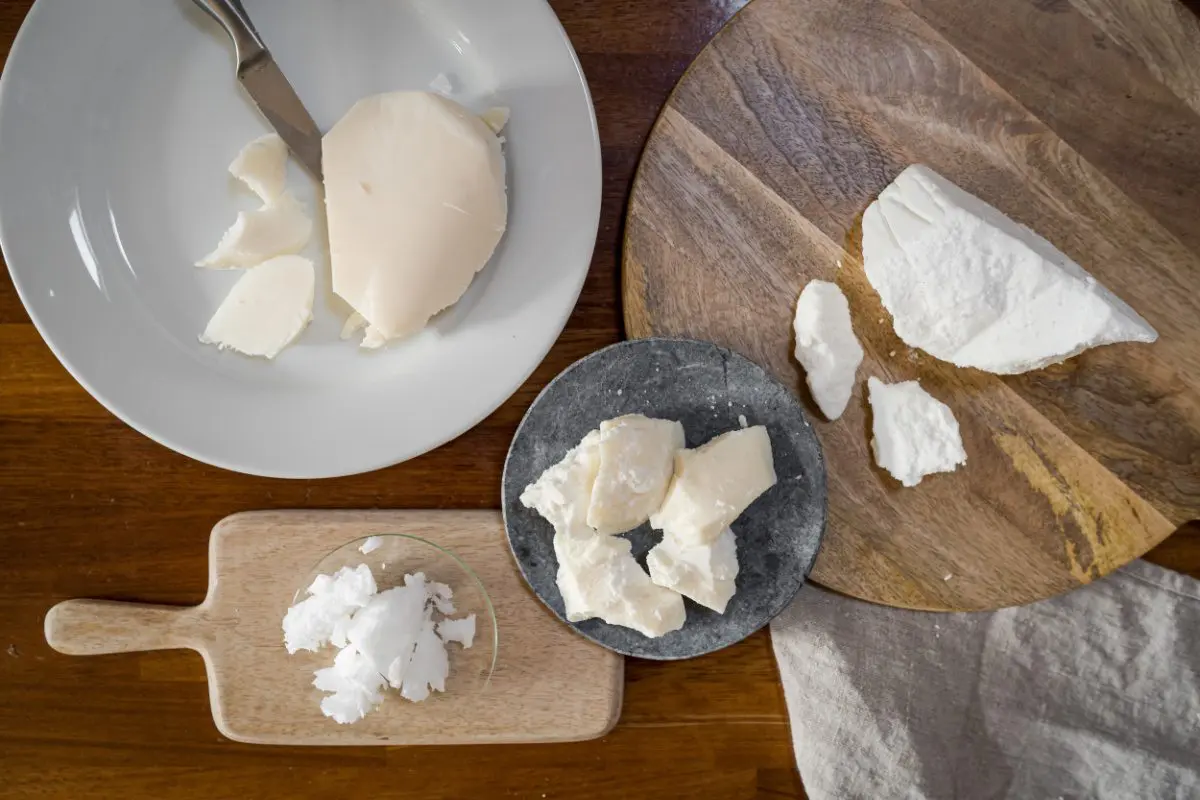
You could use an alternative vegan wax such as candelilla wax or carnauba wax, or you could omit wax altogether and instead use a higher percentage of butters to create the solid form of the bar.
Using a wax will give a firmer consistency and will create more of a barrier or protective (occlusive) layer on the skin.
While cocoa butter is also an occlusive that will help to prevent transepidermal water loss and keep the skin moitsurized, cocoa butter is more easily absorbed and has a lighter skin feel than beeswax.
In our recipe, we have decided not to use any wax and use more cocoa butter instead.
Cocoa butter also gives our lotion bar a wonderful chocolate aroma!
Chocolate Orange Lotion Bar recipe without beeswax
To make our lotion bar without beeswax you need just 4 ingredients!
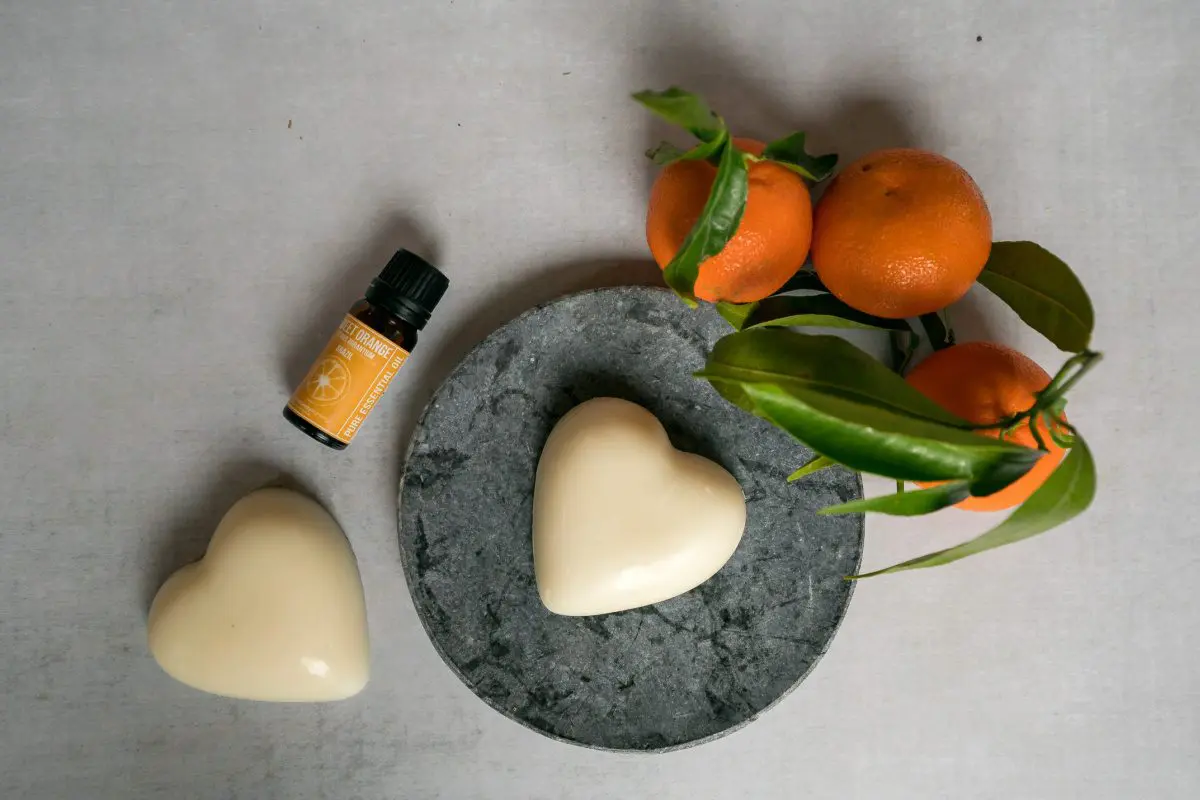
This lotion bar smells absolutely wonderful, just like chocolate orange, and is so lovely to use on the skin. It is vegan and 100% natural, and can be 100% organic, too, if you choose to use organic butters and oils.
If you enjoy the smell of chocolate then make sure you don’t use deodorized cocoa butter. On the other hand if you don’t like the smell of chocolate then a deodorized cocoa butter would be a good choice.
For a 100 gram batch (about 3.5 oz) you will need:
80g cocoa butter
18.9g cold pressed sunflower oil (or another carrier oil of your choice such as peach kernel, apricot kernel, etc)
1g orange essential oil
0.1g Vitamin E
How to make lotion bars step by step
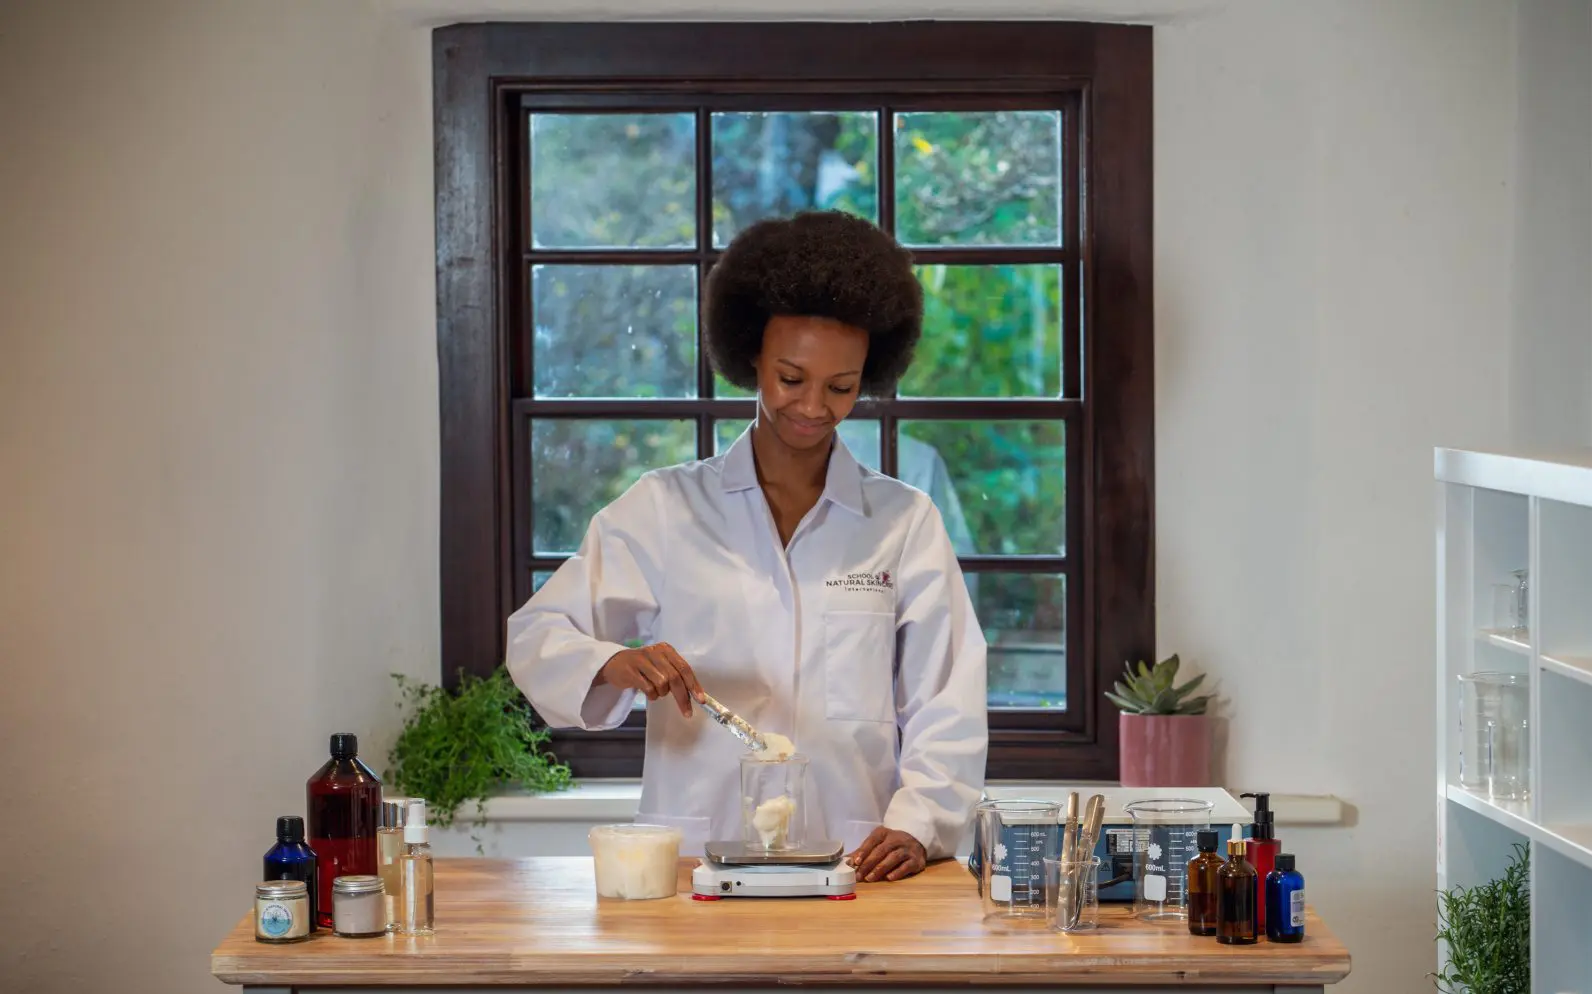
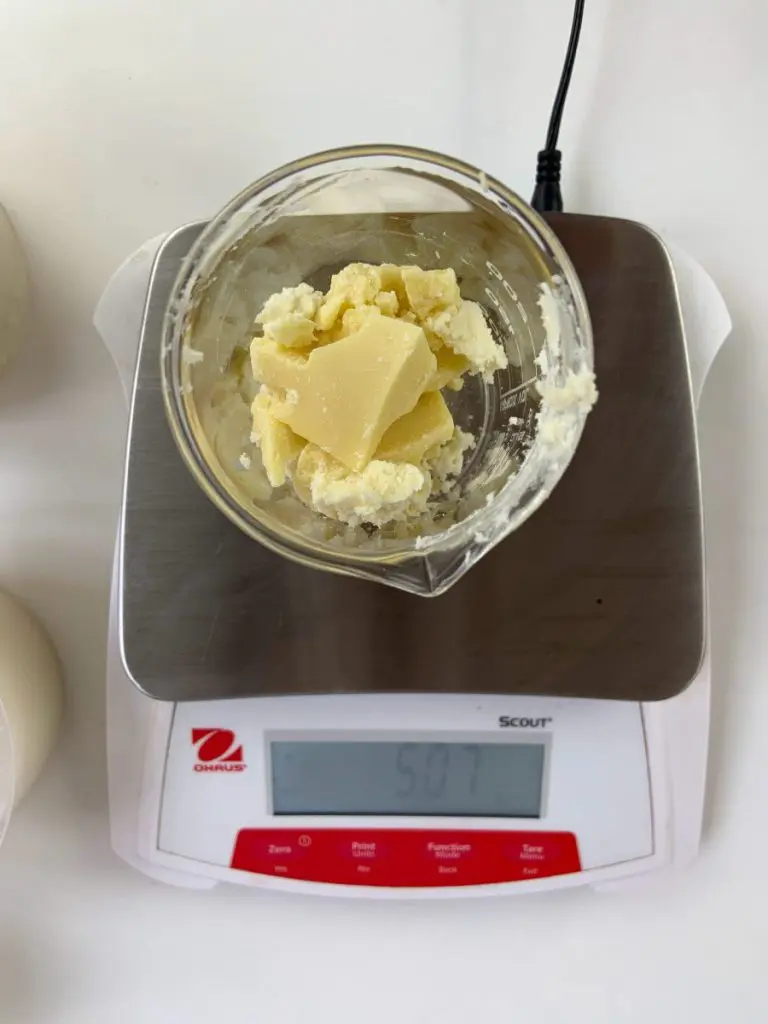
For the greatest accuracy, we recommend using digital scales to weigh all of your ingredients (including the liquid ones). This is far more professional and accurate than using cups, spoons, drops, etc.
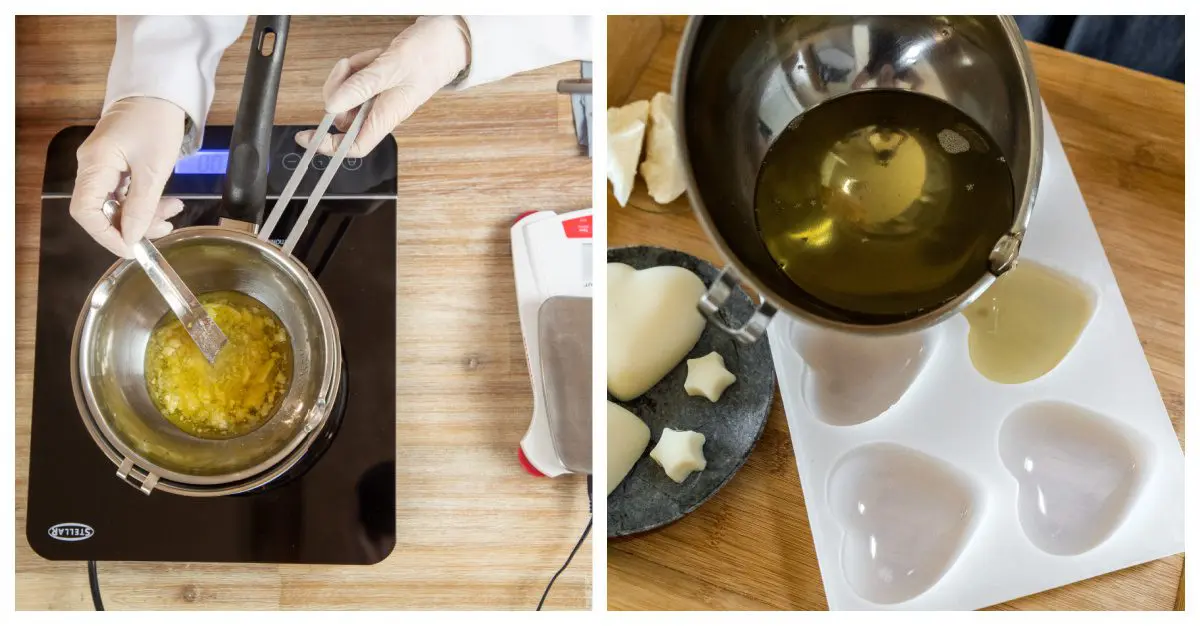
You’ll need to melt the ingredients together by creating a double boiler (bain-marie) or by using a laboratory hot plate if you have one.
- Place the cocoa butter and sunflower oil in a heat proof container, like a Pyrex jug or lab beaker.
- Place your container in a double boiler/bain-marie or on a hot plate, and heat gently until the butter has melted. Stir with a spoon or spatula to ensure the mixture is fully melted and combined.
- Once melted, remove the container from the heat and let it cool a little.
- Add the essential oil and Vitamin E, and stir well.
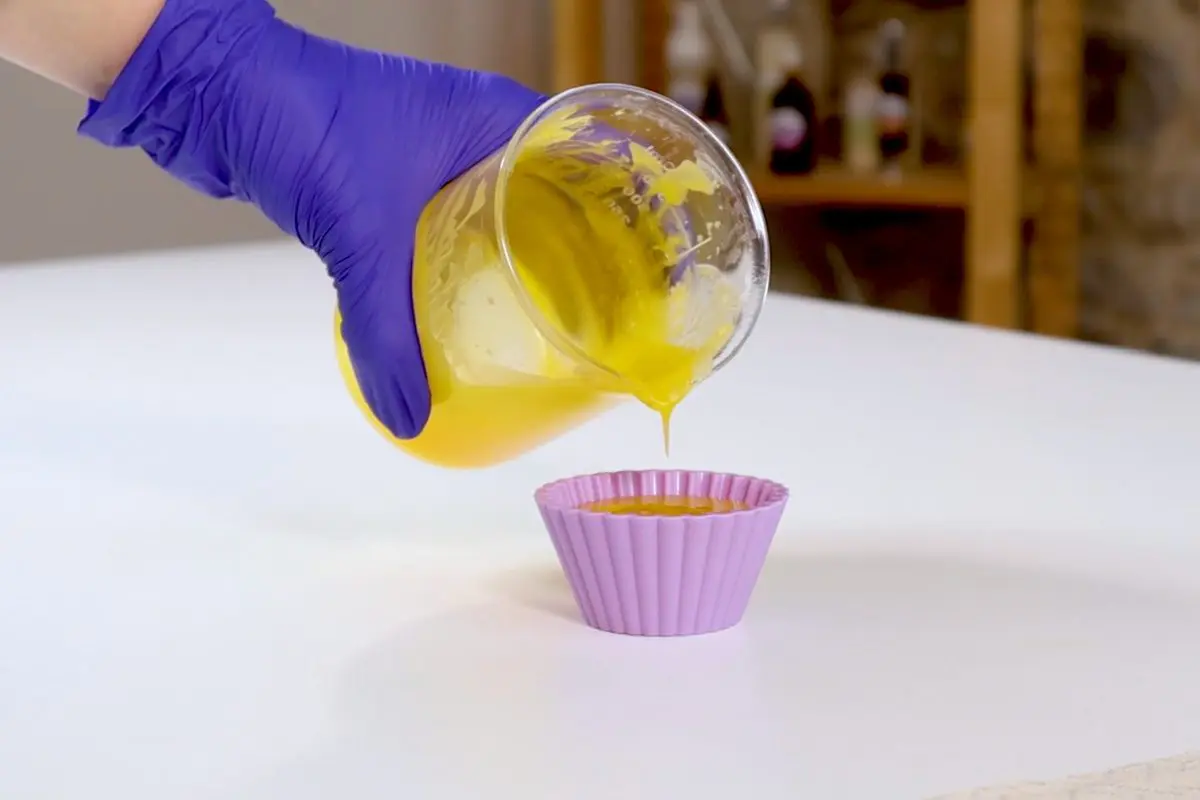
- Pour your product into your chosen molds.
- Place the molds in the fridge for one to two hours to cool and harden.
- Once your lotion bar has cooled and hardened it can be removed from the mold and stored in a dark and cool place.
Varying the lotion bar recipe without beeswax
The recipe provided is a reliable recipe and a great starting point for creating a custom recipe if you wish.
You can substitute the carrier oil for any other carrier oil of your choice, or use a combination of several carrier oils.
You can also use any essential oil of your choice (or a combination). For fun, you could also add some colored mica for a hint of sparkle.
When you become a more skilled skincare formulator you can experiment with different butters, too. As this recipe relies on butter for its solid form you need to be careful to use enough hard butters in the recipe.
You may also wish to adjust the recipe for your climate.
How to make a lotion bar less oily
People often ask how to make a lotion bar feel less oily. Simply put, as lotion bars are made almost completely of butters, oils and waxes, they are always going to be a more oily feeling product.
We like the emolliency provided by lotion bars and if you use just a little and allow time for the oils to absorb, then the afterfeel is soft and smooth rather than greasy.
You can choose to use lighter or drier feeling carrier oils but ultimately you can’t change the oil-based nature of these products.
Adapting lotion bars for different climates
The consistency of your lotion bar will be affected by the temperature at which it is stored, which means that you might need to adjust the recipe for your climate or current season of
the year.
In hotter months and in warmer climates, the recipe may require more cocoa butter for the lotion bar to stay firm. If you find the recipe provided too soft, decrease the amount of liquid oils by a few grams and increase the amount of hard butters by the same number of grams.
On the other hand, if you find the bar is too hard and doesn’t melt easily when rubbed on the skin, decrease the amount of cocoa butter and increase the amount of liquid oils in the recipe. This will likely take a bit of trial and error to adjust the recipe for your climate
perfectly. Start by changing the amounts by 2-3%.
In hot climates it can also be helpful to add wax to the recipe to increase the melting point further if necessary. Vegan waxes can be used if preferred.
Face lotion bars
Typically, lotion bars are used on the body, but it is possible to make a solid face lotion bar or even solid facial serum.
Solid facial serums contain a higher percentage of speciality or luxury oils and butters, along with oil soluble active ingredients, vitamins and botanical extracts that provide special benefits to the skin such as Vitamin C and coenzyme Q10. Melt a little of the bar onto the fingertips and apply to the skin.
You’ll learn to formulate solid facial serum bars as part of our Diploma in Zero Waste Skincare and Haircare Formulation
In-shower lotion bars
In-shower lotion bars, also known as in-shower body oil/moisturizers, are a wonderful variation on a lotion bar. They are used in the shower as the final step of a shower routine: rub against the skin after cleansing to leave the skin feeling moisturized and soft.
You’ll learn to formulate in-shower lotion bars as part of our Diploma in Zero Waste Skincare and Haircare Formulation
Make your own zero waste beauty products
If you like the solid and zero waste nature of lotion bars plus how easy they are to make, then you’ll be excited to discover there are many more solid beauty products you can make, too!
Our brand new online Diploma in Zero Waste Skincare and Haircare Formulation teaches you to formulate a wide range of zero waste beauty bars including solid facial cleansers and exfoliators, solid moisturizers and serums, solid deodorant, solid shower products, and solid shampoo and conditioner.
You’ll also formulate powder concentrates, and learn about ingredient innovations that are helping to reduce waste – upcycled ingredients and biofermentation.
We really hope you’ll join us for this exciting new course!
 Benefits of lotion bars