Whether you’ve heard of hot process soap making before or not, here are 10 reasons to give it a go!
What is hot process soap making?
Soaps are produced via a process called saponification, a reaction between triglyceride and lye. This creates glycerin (glycerol), and a salt of fatty acids, which is soap.
Soap can be made from different fats (for example, plant oil, plant butter or animal fat) and a strong alkali (for example, sodium hydroxide or potassium hydroxide), also called ‘lye’.
We generally differentiate between two methods of making solid soap bars: cold process (often shortened to CP), and hot process (often shortened to HP).
As the name suggests, hot process soap is made at higher temperatures than cold process soap. This affects the soap making method as well as the properties of the finished soap.
Cold process soap is made at relatively low temperatures (usually 30-50°C), while hot process soap is made at higher temperatures (usually 50-100°C).
Cold process soap making is the ideal place to start if you are new to soap making. When you have experience with cold process soap making it’s time to learn hot process soap making! Let’s explore the benefits of hot process soap making.
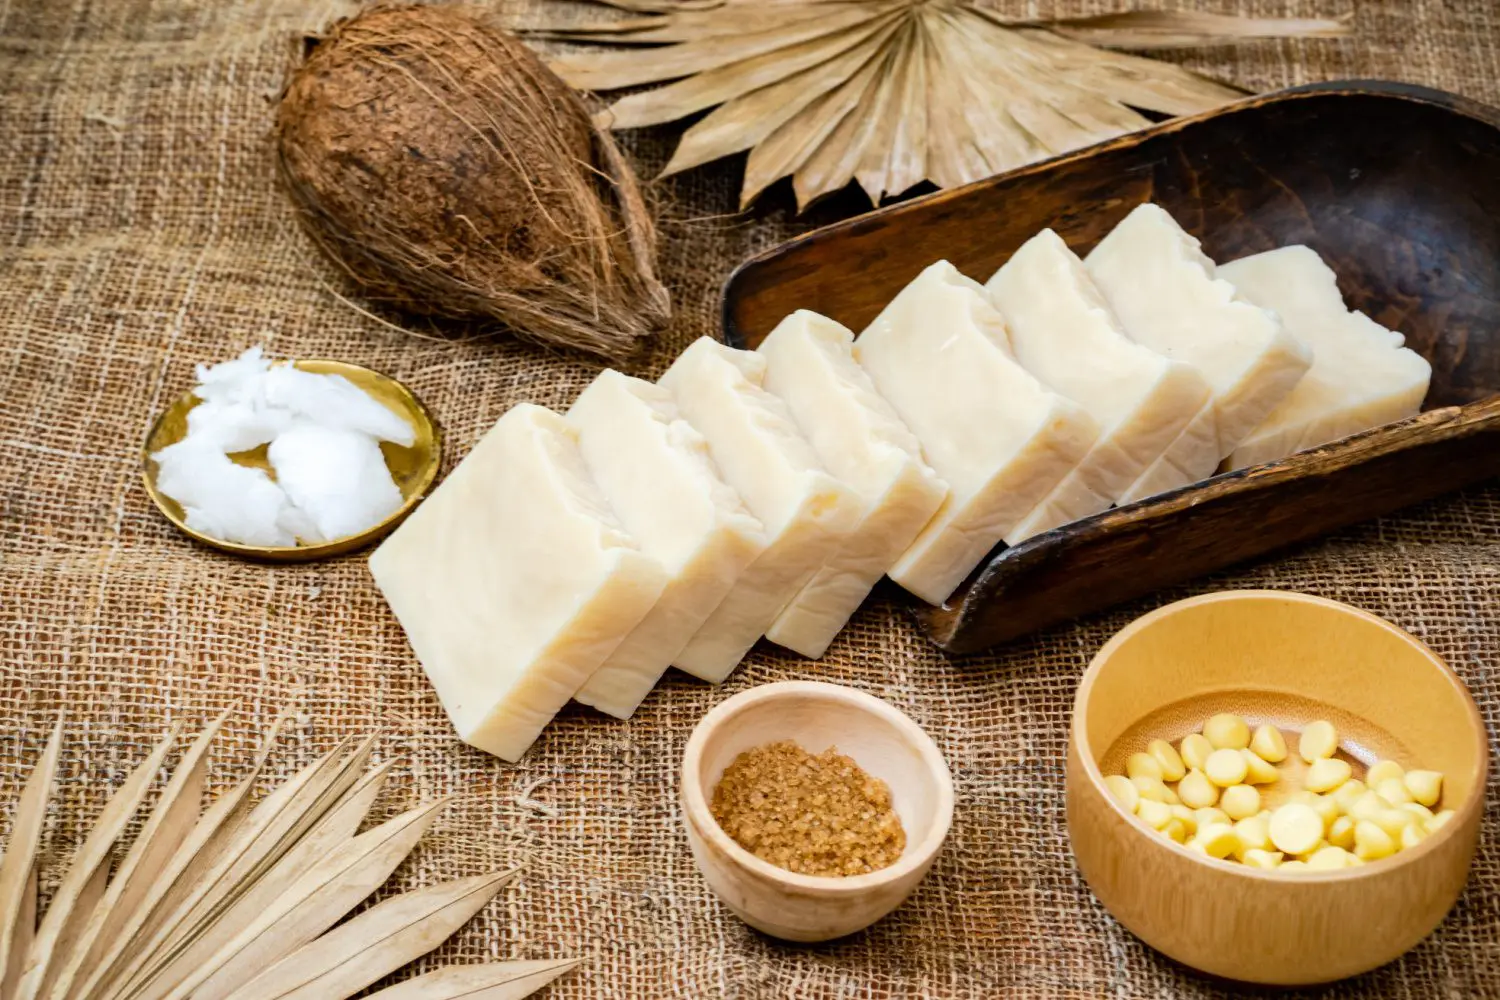
Benefits of hot process soap making
There are lots of benefits to making and using soap bars (whether cold process or hot process).
Soap bars are:
- zero waste
- cost-effective
- economical to make in terms of time (one batch makes lots of soap bars)
- preservative-free and
- they have a long shelf-life.
We explore some of these benefits in more detail in our article on 6 benefits of cold process soap.
So what about hot process soap making?
There are several extra benefits to making hot process soap!
1. Quick to make = very economical in terms of time and money
Especially if working at high temperatures, the whole process can be very quick, even 30 minutes from start to finish.
2. Shorter cure time = ready to use sooner
Hot process soap bars can be used straight away since the saponification is finished before the soap is poured into the mold (in cold process soap making you need to wait four to six weeks for your soap to cure). However, a couple of weeks of cure time will still benefit the soap.
3. No soda ash
Soda ash is seen as a white dusting, or ash, on the top of cold process soap. This does not make the soap unsafe for use, but it can be aesthetically unpleasant. Soda ash does not occur in hot process soap. Because the unreacted lye is not in contact with air, the soap does not form soda ash.
4. Easy cleanup
As the saponification is complete when we finish the soap making process, the tools and equipment are fairly easy to clean, since it contains soap and not lots of oils.
5. Control over superfat = more nourishing soap
Superfat is ‘extra fat’ that does not react with the lye and turn into soap. It is a portion of fat (oils, butters) that is added to make the finished bars more nourishing. Because in hot process soap making the superfat is added after the saponification is complete, you can control which oils are in the superfat portion, therefore you can control the extra nourishing properties that your soap has. For example, you can make the base soap recipe using olive oil and coconut oil, and then add shea butter as the ‘superfat’ to take advantage of its nourishing properties.
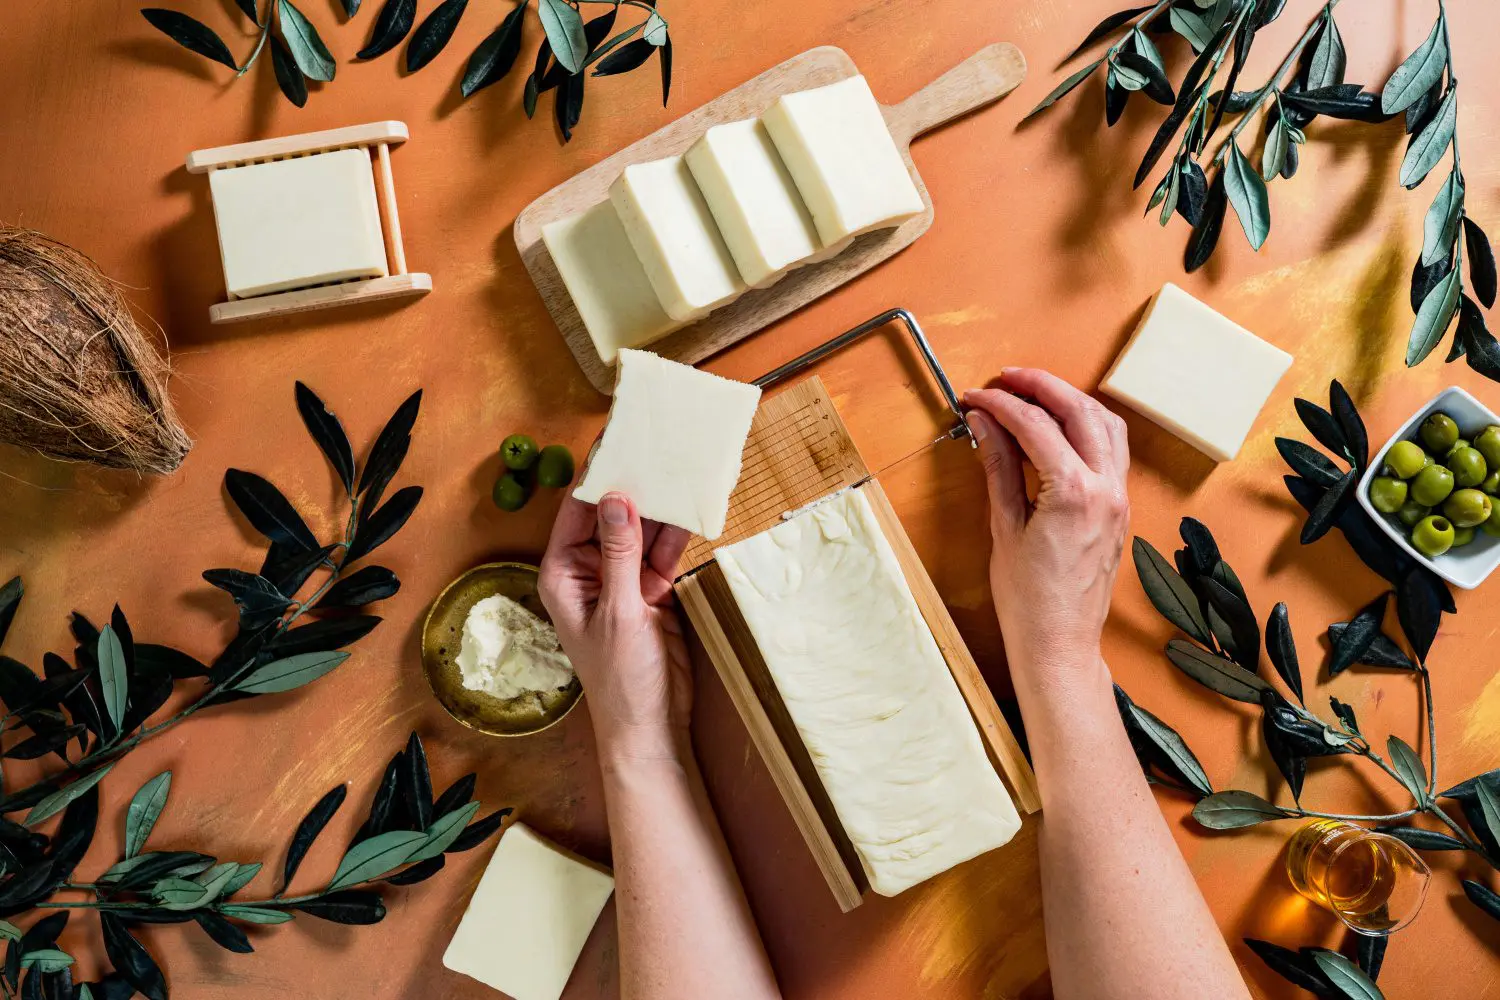
Differences between hot and cold process soap making
Some of the key difference between the two types of soap making are as follows:
1. Made at higher temperatures
Cold process soap is made at relatively low temperatures (usually 30-50°C), while hot process soap is made at higher temperatures (usually 50-100°C).
2. Use of a slow cooker
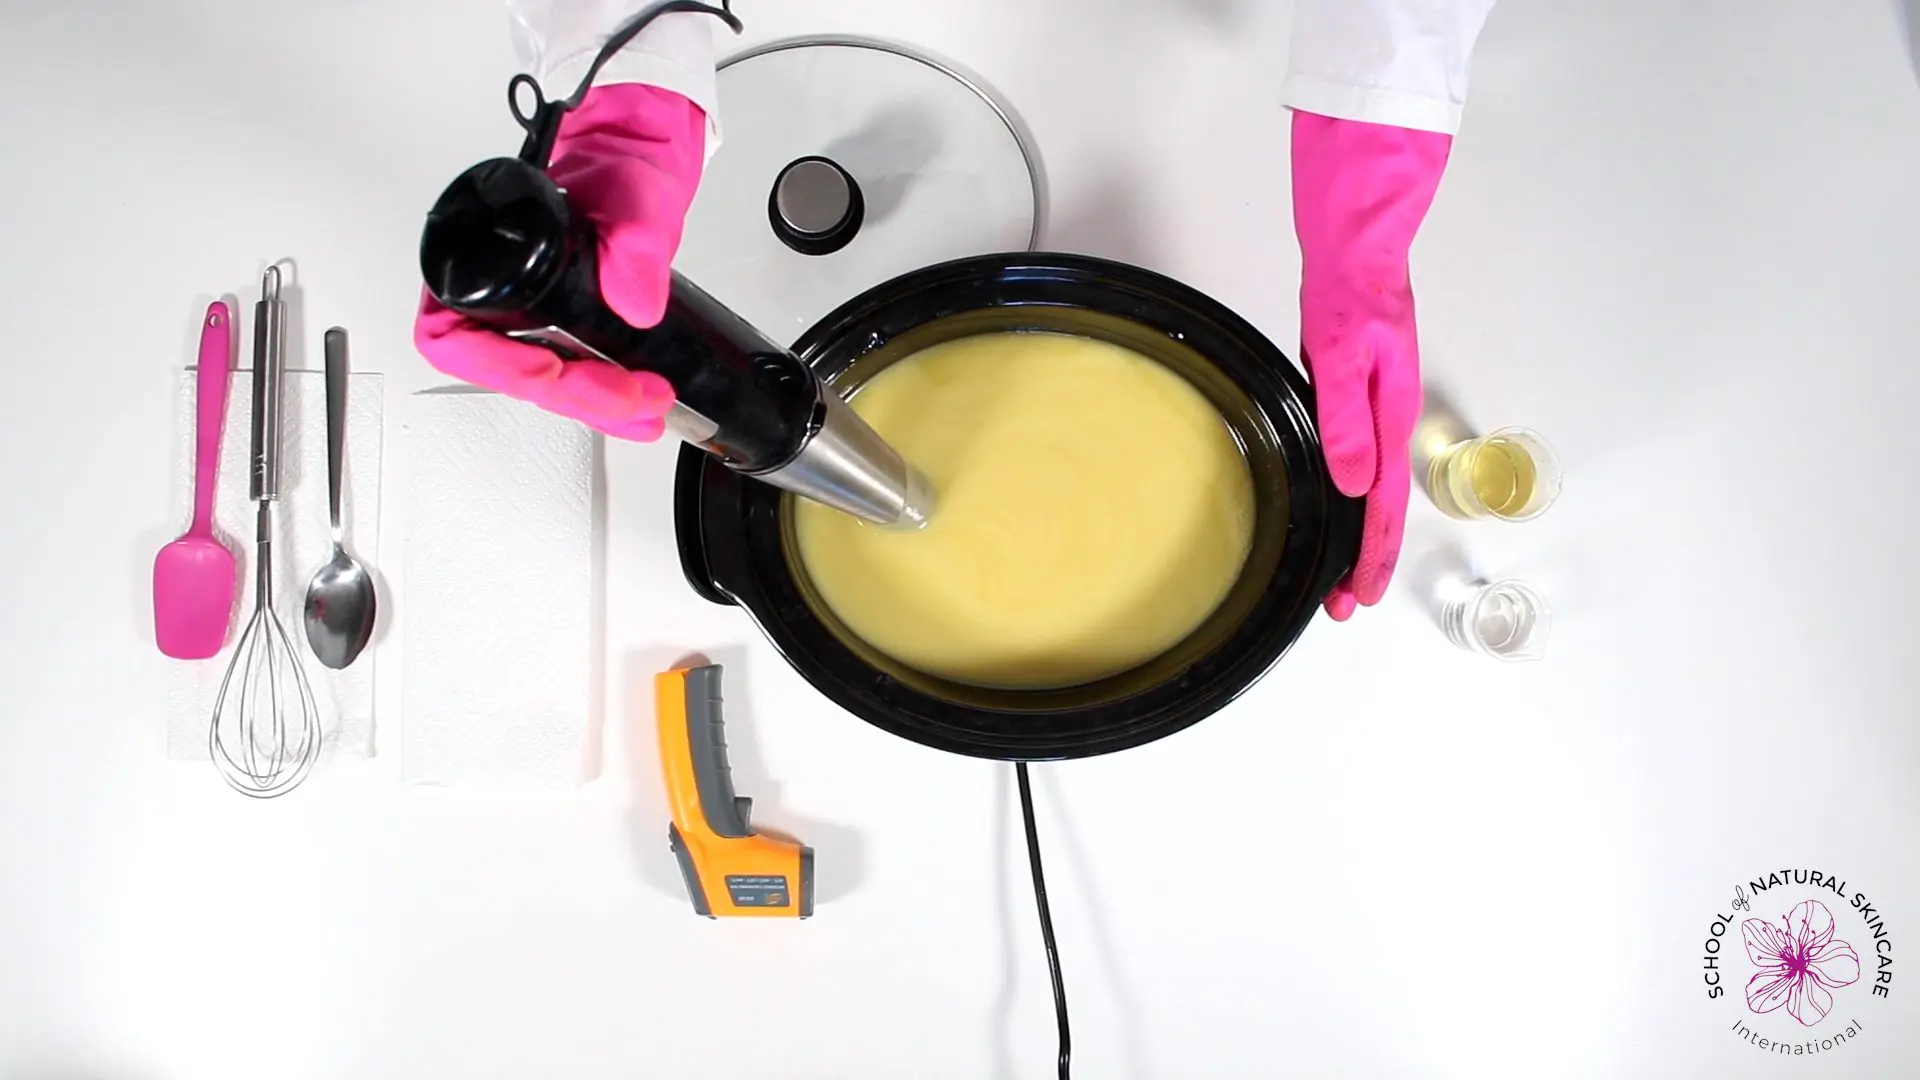
The main equipment for hot process soap making is the same as for cold process soap making – lye-safe containers, stick (immersion) blender, whisk, spatula, thermometer, soap mold. One key difference is that a slow cooker (also known as a crock pot) is a very useful piece of equipment in hot process soap making. This is used to ‘cook’ the oil mixture while it saponifies. Using a slow cooker/crock pot ensures the soap mixture does not overheat and that the temperature remains fairly constant.
3. Saponification
In hot process soap making the saponification happens during the soap making process while the soap is ‘cooking’ in a slow cooker. In cold process soap, saponification occurs in the mold.
4. Post-cook superfat
Superfat oils/butters can be added after saponification is complete and are therefore known as ‘post-cook superfat’. In cold process soap making, the superfat is made of all of the oils in the recipe, but in hot process you can choose which oils make up the superfat, therefore which oils or butters will provide extra nourishing properties to your soap.
5. Skill level
Beginners should start by making cold process soap. As hot process soap takes place at higher temperatures it requires more skill and should only be carried out once you are comfortable with cold process soap making.
Learn more in our Hot Process Soap Making class
As making hot process soap is an advanced skill, we recommend that you only begin once you are confident in your ability to make cold process soap.
You’ll be pleased to know that you have a couple options – and help is at hand!
1. Join our Diploma in Soap Making
Our Diploma in Soap Making is the most comprehensive course available covering soap making and teaches students to make cold process, hot process and liquid soap making, as well as how to use soap swirling techniques to create soap with gorgeous swirls and patterns.
This is where you’ll learn everything there is to know about soap making. You’ll start off with cold process soap making which lays the foundation for more advanced skills required to make hot process soap, liquid soap and soap swirling techniques.
Take a look at our Diploma in Soap Making to find out more.
2. Join the Natural Cosmetic Formulation Club and take our Hot Process Soap Making Class
If you have already made at least a few batches of cold process soap and would like to learn how to make hot process soap, we have the perfect class for you – and it’s found inside the Natural Cosmetic Formulation Club!
Advanced Soap Making: Hot Process Soap
This is a detailed class that covers everything you need to know to make hot process soap safely and successfully. Containing two detailed step-by step videos showing you exactly how to make both low temperature and high temperature hot process soap (plus what to do in the case of a ‘soap volcano’!), a beautiful and detailed class textbook to download, tried-and-tested recipes to follow and tutor support from a master soapmaker, you’ll have everything you to need to create exceptional hot process soap.
This advanced class can be found inside our Natural Cosmetic Formulation Club. Join now for immediate access to the class, or if you are already a member head over to the Classes dashboard to get started.
Please note: As this is an advanced class you will either need to have taken our Cold Process Soap Making course as a prerequisite OR have sufficient experience of making cold process soap before accessing the class.
Here’s a sneak peek at the class contents:
1. Introduction To Hot Process (HP) Soap Making
Benefits of hot process soap making
Differences between hot and cold process soap making
Mandatory safety information
Soap making terminology
2. Making Hot Process Soap
Low temperature vs high temperature hot process soap making
Hot process soap making overview
The soap making process: hot process soap (low temperature)
The soap making process: hot process soap (high temperature)
3. Variations On The Hot Process Soap Making Method
Fluid hot process soap
Making hot process soap without a slow cooker
4. Hot Process Soap Recipes
Basic Nourishing Soap with Shea Butter
Cocoa Butter Soap
Oatmeal Honey Soap
Milk and Yogurt Soap
If you have any questions, please email us on [email protected].
